
Flower Bracelet
Wear a paper bracelet outdoors and add small flowers as you find them, creating a one-of-a-kind design along the way.
- 3 years
- Quick prep
- Outdoors
- About 15 minutes
Steps
- 1
Spring is here. Try this activity on your next walk together.
- 2
Loosely wrap a strip of double-sided tape or painter’s tape around each wrist, with the sticky side facing out, to make two nature bracelets.
- 3
When you see a fallen flower or petal, place it on your bracelet and say, “So pretty! I’m going to fill my bracelet with flowers.” Invite your child to join.
- 4
Let your child search for fallen flowers and add them one by one, creating their own design.
- 5
As the bracelet fills, help them find any sticky spaces that are still uncovered.
- 6
When you are finished, hold out your wrists, compare the two bracelets, and talk about what each of you found.
What to notice
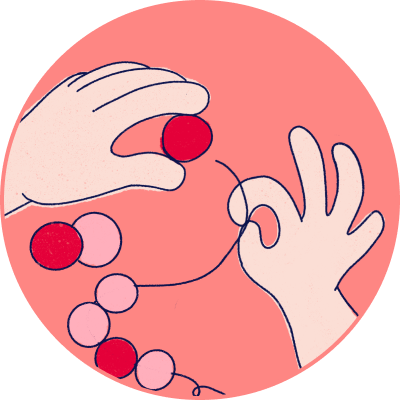
- Places a small flower on the tape around their wrist
 Fine Motor
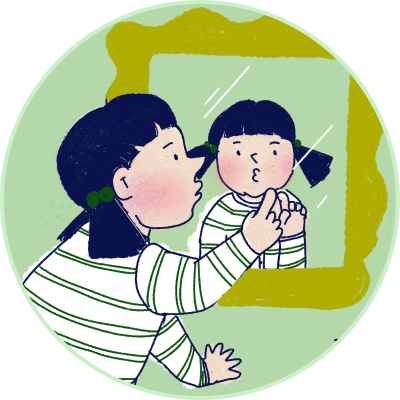
 - Holds up the flower-covered bracelet to show you
 Sense of Identity and Belonging
Tips
- Flowers are not the only things that can decorate the bracelet. Fallen leaves and grass work too. Natural objects of different shapes and sizes give your child varied practice picking them up and pressing them onto the tape.
- Use wide tape, or wrap several strips side by side. A wider, sturdier sticky surface is easier to handle.
Developmental benefits
- Movement: Picking up each flower and placing it on the bracelet brings your child’s eyes and hands together to control a small object.
- Social/Emotional: When your child shows the finished bracelet, your warm attention and appreciation help them feel proud of what they can do.
Better Parenting Content Team · Updated September 11, 2026